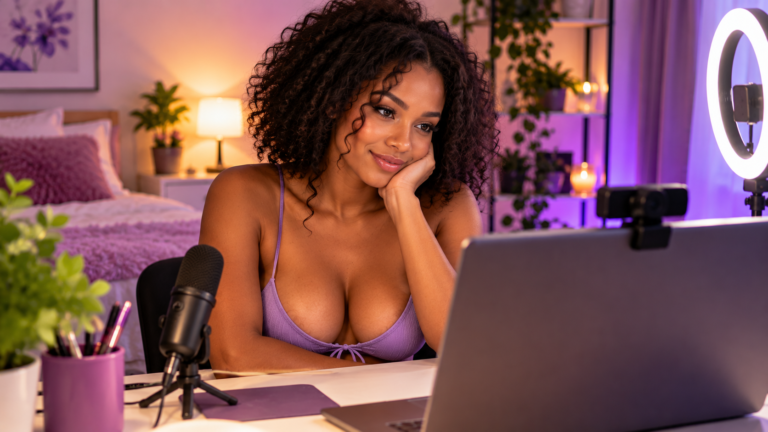
A better webcam setup on a budget doesn’t always require expensive equipment.
Before buying a new camera, microphone, lights, or computer, look for low-cost or no-cost improvements: lighting direction, camera height, framing, background, audio, internet stability, and how consistently you arrange everything.
For many models, those changes can make a larger visible difference than replacing equipment that already works.
The best approach is to improve one weak point at a time, not rebuild your entire setup. Start With What Viewers Actually See and Hear
It is easy to assume that better equipment automatically means a better stream.
In practice, an expensive webcam can still look poor in a dark room, and a basic camera can look much better with good lighting and positioning.
Before spending anything, record a short test or check your stream preview.
Pay attention to four things:
- lighting
- camera angle and framing
- audio
- background
If one of those looks noticeably weak, start there.
For someone building a setup from scratch, how to become a webcam model also covers the broader basics of getting started before spending heavily on equipment.
Improve Your Lighting Before Replacing Your Camera
Lighting is one of the easiest areas to improve cheaply.
A camera needs enough light to produce a clear image. When the room is too dark, the picture may look grainy or soft, even if the camera can produce better quality.
Use Light You Already Have
During the day, a window can provide useful soft light.
Try facing the window rather than placing it directly behind you. Strong backlighting can make your face and body look darker because the camera tries to expose for the bright background.
At night, experiment with lamps you already own.
Move a lamp closer to your filming area and place it slightly above or beside the camera rather than directly overhead.
The goal is not simply to make the room brighter. It is to light yourself evenly enough that the camera can show you clearly.
Soften Harsh Light
If a lamp creates strong shadows, move it farther away or bounce the light off a pale wall to soften the effect.
Be careful around hot bulbs and lamps. Do not cover lights with fabric or materials that could overheat.
You don’t necessarily need a professional lighting kit right away.
Put Your Camera at a Better Height
Camera placement costs nothing to change.
A webcam placed too low can create an awkward angle. One positioned too high can make the framing feel unnatural.
Try placing the lens close to eye level for seated scenes.
If your webcam is attached to a laptop, you can raise the laptop using a stable stand or another secure platform.
Avoid anything unstable that could fall onto your equipment.
Then look at your framing.
Check how much space appears above your head, what is visible behind you, and whether you have enough room to move without disappearing from the frame.
Small adjustments can make the setup look more intentional.
Clean the Camera Lens
This is simple enough to overlook.
Dust, fingerprints, makeup residue, or other marks on a webcam lens can make the picture look softer than it should.
Use a soft lens cloth or microfiber cloth, then check the camera again.
Before assuming you need a new webcam, make sure yours is producing the clearest image it can.
Improve the Background Without Redecorating the Room
Your background does not need to look expensive.
It should look intentional, reasonably tidy, and free of things you don’t want viewers to see.
Remove unnecessary clutter from the camera frame rather than trying to redesign the entire room.
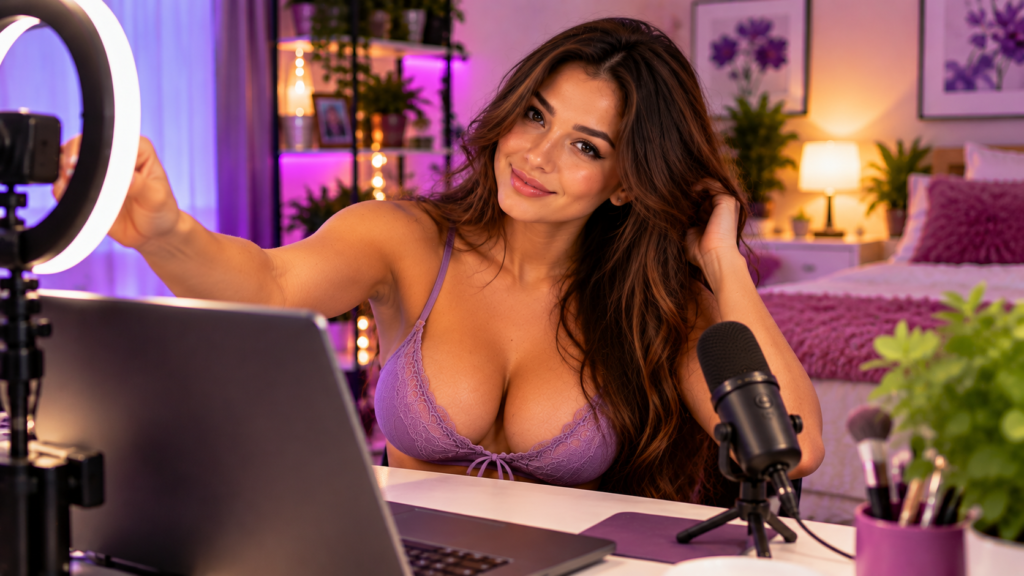
A simple bedspread, a clean wall, a plant, a lamp, or a few coordinated items can often make the space feel more finished.
More importantly, check the background for personal information.
Mail, photographs, certificates, calendars, street views, packaging labels, or anything else that reveals identifying information should stay outside the frame.
This is one reason webcam model privacy and safety should be part of your setup decisions, not something you think about only after you start streaming.
Listen to Your Audio
Good video with distracting audio can still make a stream difficult to watch.
Before buying a microphone, listen to a recording from your existing setup.
Check for:
- fans or air conditioners
- traffic
- televisions
- music from another room
- computer noise
- echo
- microphone rubbing or handling noise
Sometimes the best audio improvement is simply reducing the noise around you.
Moving the microphone closer can also help, depending on the microphone and your setup.
If your webcam microphone is already clear enough for conversation, replacing it may not be your priority.
Check Your Internet Connection
A new camera cannot solve an unstable connection.
If your stream regularly freezes, becomes heavily compressed, or disconnects, check the internet connection before spending money on better video equipment.
Where practical, reduce unnecessary internet use on other devices while you are streaming.
If your computer and router support a wired Ethernet connection, that may provide a more consistent connection than Wi-Fi in some homes. Your actual results will depend on your internet service, router, devices, and location.
Run tests under the same conditions you normally stream, rather than assuming a single speed test tells the whole story.
Use the Equipment You Already Own More Effectively
Many new models buy equipment before learning what their current setup can do.
Spend some time experimenting first.
Change the position of your webcam.
Move your lighting.
Test different areas of the room.
Adjust your chair or bed position.
Change the distance between you and the camera.
Record short clips and compare them.
This is also a good way to avoid common mistakes with new webcam models, especially buying or changing too many things before you understand what actually needs improvement.
Make Low-Cost Upgrades in the Right Order
If you have tested your setup and still want to spend a little money, prioritize the weakest part.
No universal order exists because every setup is different.
For one person, lighting may be the obvious problem.
For another, the webcam may already look fine, but the microphone sounds poor.
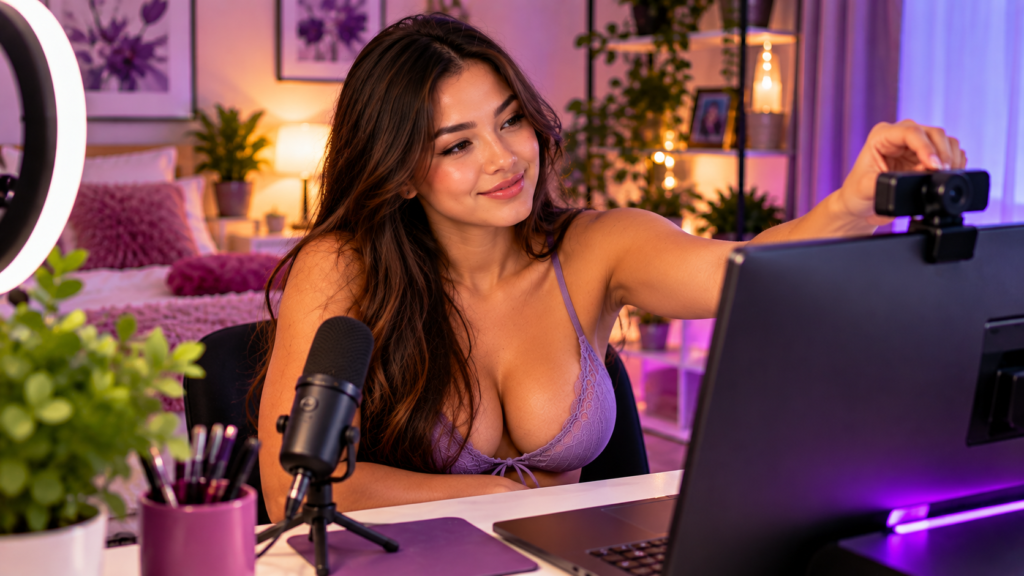
Someone else may need a stable camera mount or a longer cable more than either.
A useful rule is:
Fix the biggest visible or audible problem first.
Don’t buy several upgrades just because they are commonly included in streaming setups.
Build a Stronger Cam Model Routine
Explore our Cam Model Resources for practical guides on scheduling, consistency, room setup, privacy, earnings, and more.
Consider Second-Hand Equipment
Used equipment can sometimes reduce costs.
Creators often sell webcams, lights, stands, microphones, and other accessories second-hand when they upgrade or stop using them.
If you consider used gear, make sure it works properly and includes any necessary cables, mounts, or power supplies.
For electronics, the savings should be meaningful enough to justify giving up some of the protections that may come with buying new.
Do Not Assume Higher Resolution Is Always the Priority
Specifications can make equipment shopping confusing.
Higher resolution sounds automatically better, but your overall image also depends on lighting, camera settings, internet connection, platform processing, and how the video is displayed to viewers.
If your current camera already produces a clear picture, another upgrade may improve your stream more.
Spend based on a problem you can identify rather than a specification that looks impressive.
Keep Your Setup Easy to Repeat
A setup is more useful when you can recreate it easily.
Once you find camera, lighting, and furniture positions that work, make them easy to repeat.
You might remember where your tripod legs go, where a lamp sits, or how high your camera is positioned.
The less time you spend rebuilding the room before every session, the easier it becomes to maintain a consistent schedule.
That consistency can also help with keeping viewers coming back, because returning viewers are more likely to encounter a familiar, comfortable presentation.
Upgrade Gradually
Your first setup does not need to be your final setup.
If you want to keep doing cam, you can improve your equipment gradually as you gain experience.
After using your setup for a while, you will have a much better idea of whether you need better lighting, clearer audio, a different camera, or something else.
That information is more valuable than buying a collection of equipment before you know what your room needs.
Final Thoughts
Improving a webcam setup on a budget is mostly about identifying the weakest part of the experience and fixing that first.
Start with lighting, framing, audio, background, and connection quality. Test what you already own. Make inexpensive adjustments before replacing equipment, and upgrade gradually when you can identify a real reason.
For more practical guidance on setup, privacy, earnings, and building a sustainable routine, continue through the VideoExtra Cam Model Resources section.